How to Floss
Home Pediatric Dentistry How to Floss
At Ironwood Dental, we are strong advocates of the benefits of teaching your children the healthy life habit of flossing after brushing their teeth. But as a parent you might be wondering, “How do I help my young children learn to floss when they are too small to floss on their own? And what do my older children need to know to effectively floss by themselves?”
For quick answers to questions about your children’s oral health needs, or to set up a dental appointment with one of our Scottsdale pediatric dentists, you can ask us online or call us at (480) 422-4544.
Why Your Children Should Floss
The reason why your children should floss after brushing their teeth—and why you should, too—is simple: regular brushing alone is not enough to keep your teeth clean and safe from harmful bacteria, cavities, gum disease and bad breath. It is not that toothbrushing is ineffective, but it is not completely effective, either. There are a few reasons for this.
First, although your child’s toothbrush will suffice to remove plaque and food from most of the surfaces of the teeth, it cannot reach all of them. Two places where a toothbrush will often leave behind plaque and food particles are on the surfaces in between the teeth and along and just underneath the gums.
Second, plaque is a sticky film that can resist the bristles of a toothbrush. Flossing removes residual plaque before it can harden into tartar. This is important because once tartar forms on your child’s teeth, especially underneath the gums, neither brushing or flossing will remove it. Only a professional teeth cleaning by your child’s dentist can clean away tartar once it takes hold.
When to Start Flossing
A good time to start flossing your child’s teeth is when their baby teeth have erupted enough in number and development that they begin to touch one another. This commonly takes place around the age of two, with the emergence of the molars.
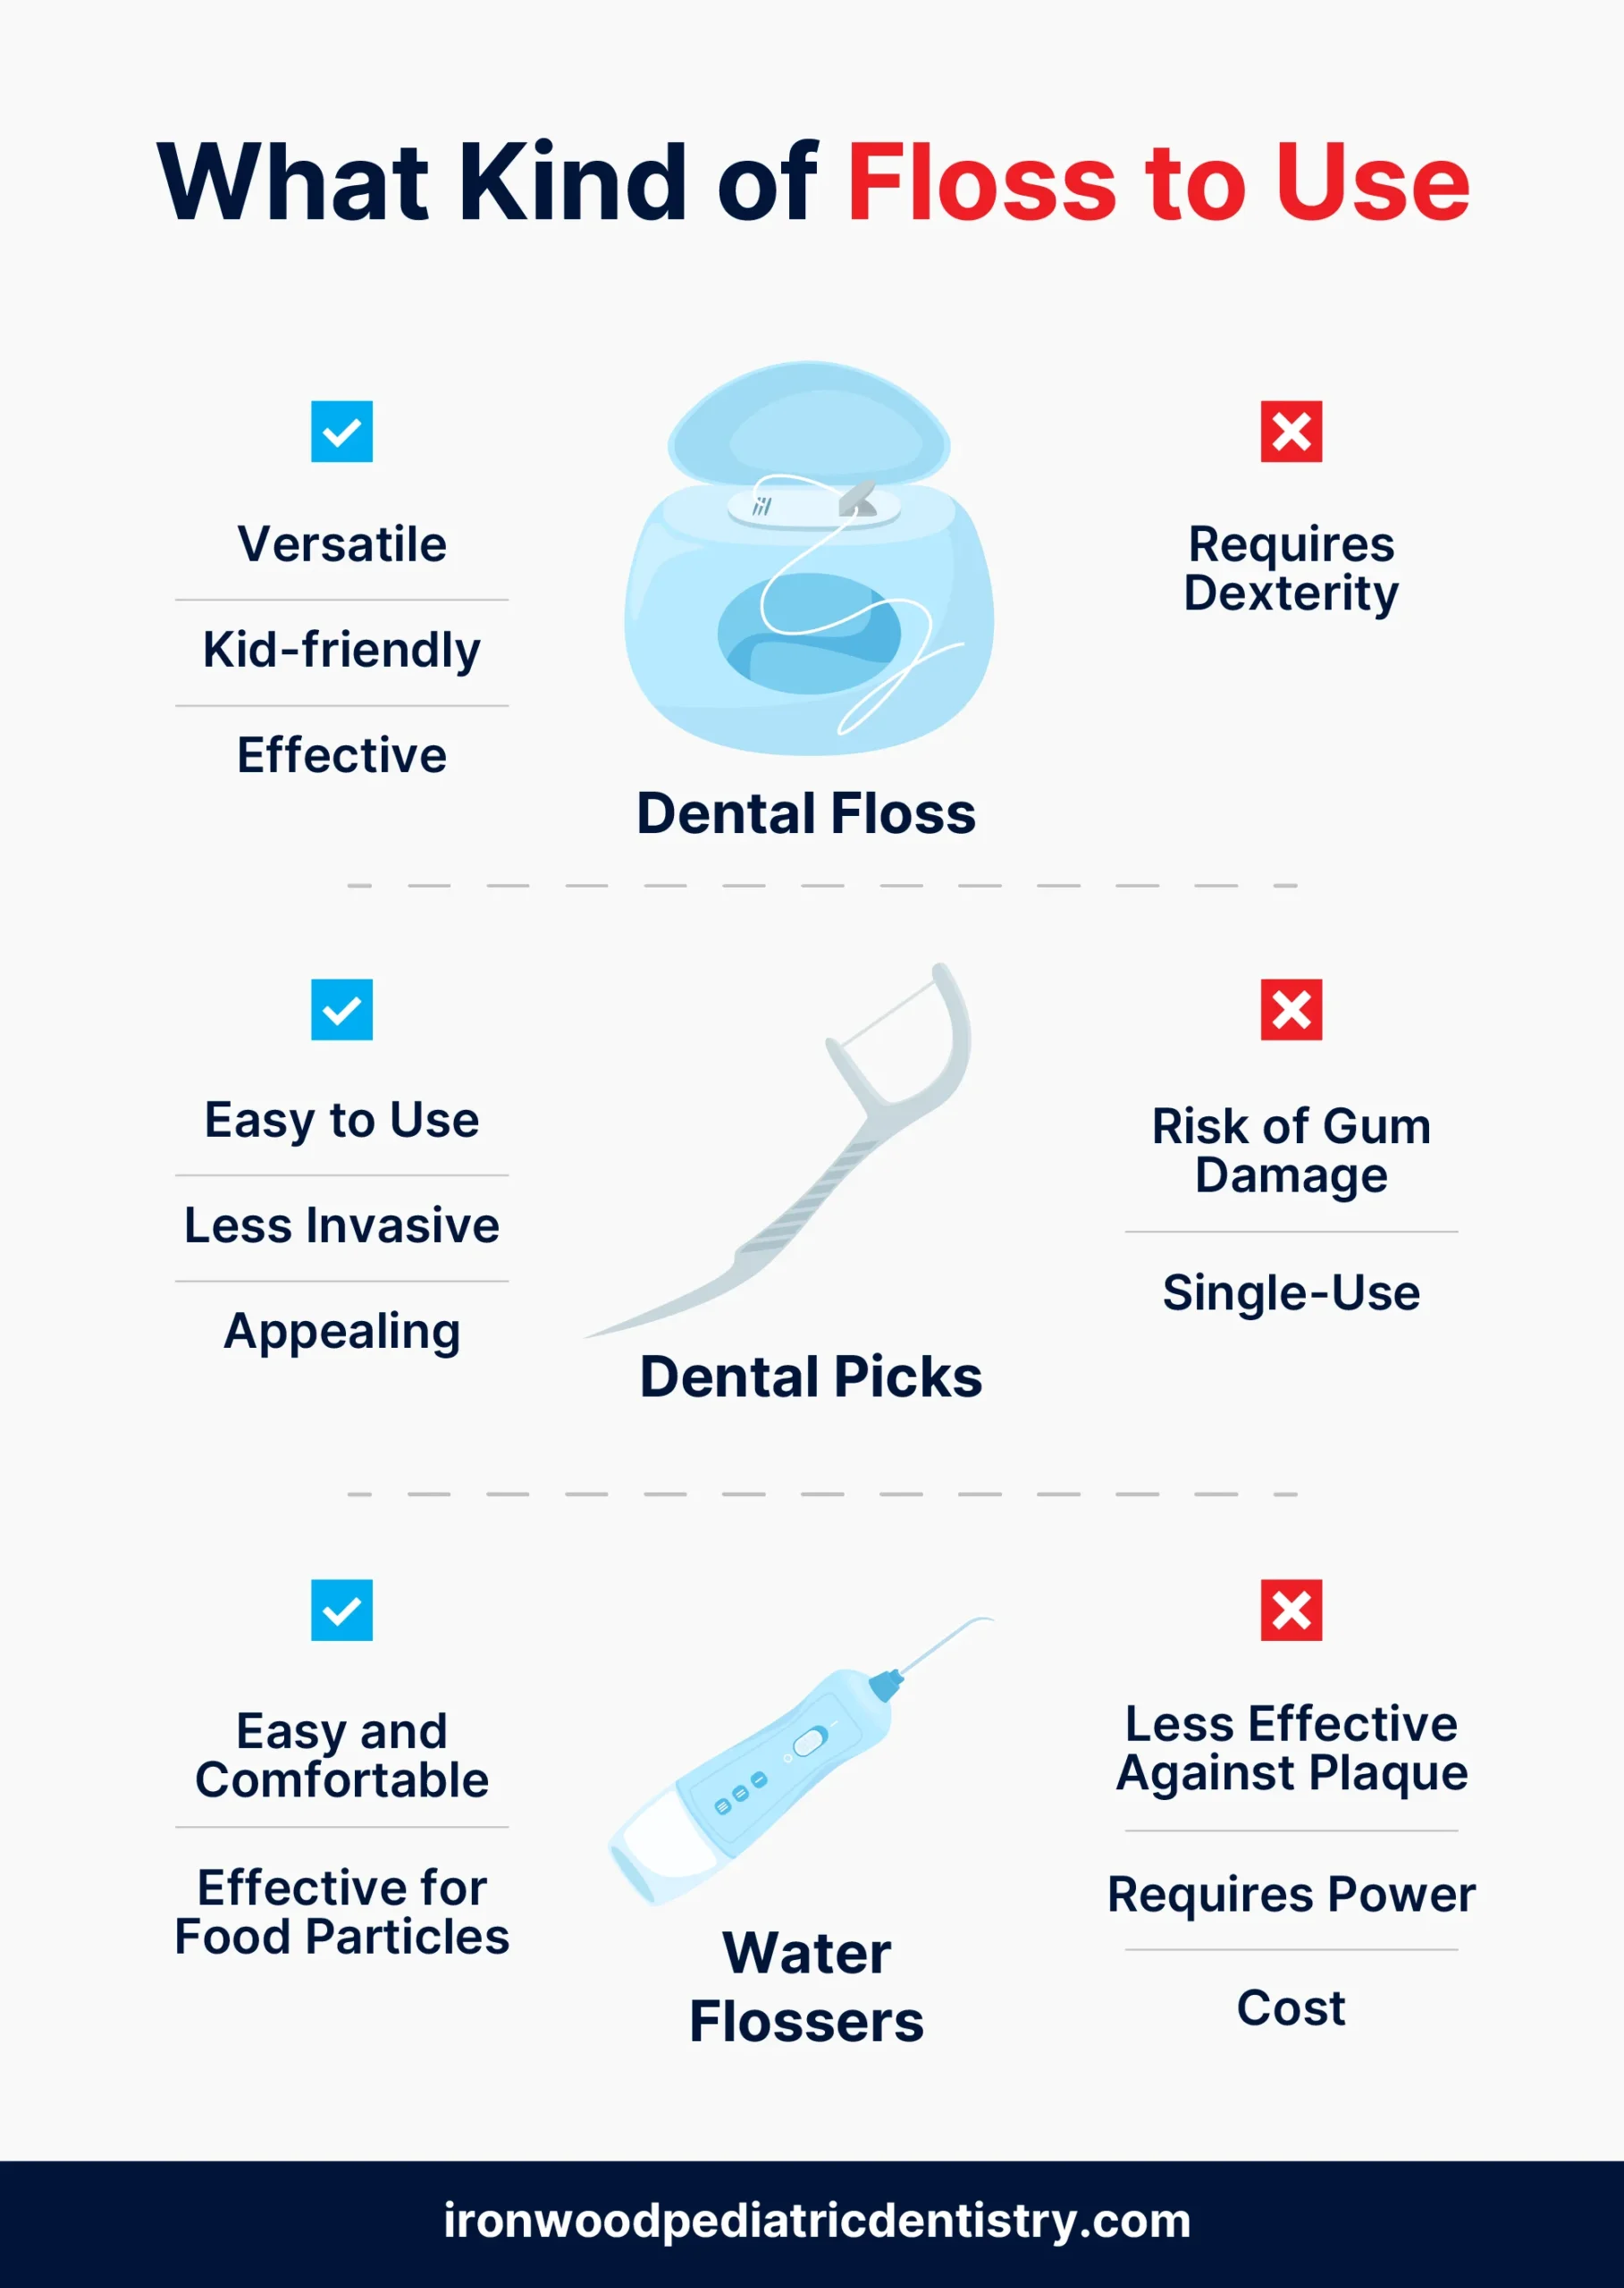
What Kind of Floss to Use
You have multiple options to choose from when choosing what kind of floss to use for your children. Here are some considerations for each.
Dental Floss
You can use standard floss or waxed floss with your children’s teeth and gums. Some children’s flosses are flavored to make them more appealing. The main potential drawback to using regular floss is that it requires you and later your child to place fingers into small mouths during flossing, and this can be uncomfortable for small children.
Dental Picks
Dental picks, also known as floss picks or pre-threaded flossers, consist of brackets on one end and a handle on the other. The brackets hold a strand of floss. Floss picks are often easier to use than regular floss because they do not require reaching into your child’s mouth with fingers. Children’s floss picks can also be flavored to increase their appeal. Care should be used with floss picks, because it is possible to apply too much force when using them, and this can cause trauma to gum tissue.
Water Flossers
One alternative to traditional flossing is to use an electric or battery-powered water flosser that shoots a jet of water through a nozzle. These devices can be effective for removing leftover food particles in hard-to-reach spaces like in between teeth. A water flosser can make flossing easier compared to regular flossing because it does not require placing fingers in the mouth. But when it comes to removing plaque, these devices are not as effective as dental floss.
Child Flossing Techniques
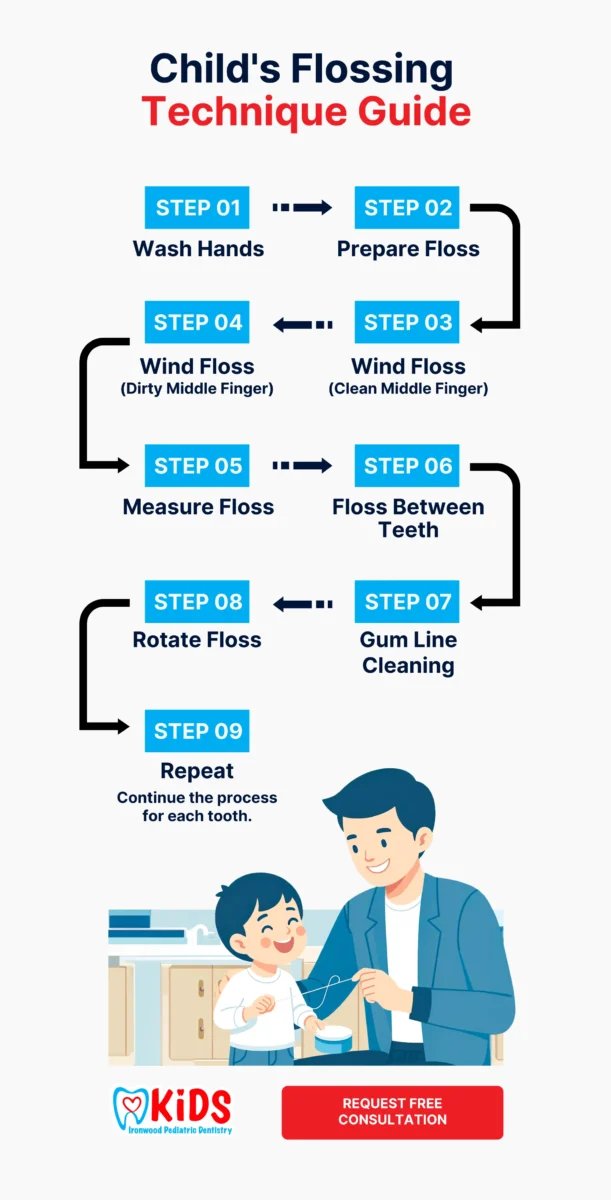
When your children are small, you must floss their teeth for them. Here are the proper technique steps to take to floss correctly.
- Wash your hands. You will be placing your fingers in your child’s mouth, you will want them to be clean.
- Secure a few inches of floss to use. This can be about 18 inches in length.
- Wind most of the length of the floss around one of your middle fingers. We will call this your “clean middle finger” from now on.
- Wrap the other end of the length of floss around your other middle finger. We will call this the “dirty middle finger.”
- When you have finished steps 3 and 4, there should be about two inches of floss between your middle fingers.
- Next, while holding the approximately two inches of floss at each end between your index fingers and thumbs of both hands, floss gently by positioning the floss in between two of your child’s teeth. Do this by using a gentle rubbing motion as you guide the floss between the teeth.
- When the floss reaches your child’s gum line, hold the floss taut around one of the teeth, in a c-shape, and then use an up-and-down motion to rub the floss tightly against the tooth to remove plaque. Then do the same with the tooth on the other side.
- Each time after you clean the surface of a tooth, unspool a little of the floss wrapped around your clean middle finger, and wrap the floss you just used to clean with around the dirty middle finger. Then grasp the floss between your thumbs and index fingers again and start the process again. This ensures that you will not simply be transferring plaque and bacteria between the surfaces of the teeth, but will be using fresh floss for each tooth.
- Repeat steps 6 through 8 for each tooth until you have flossed them all.
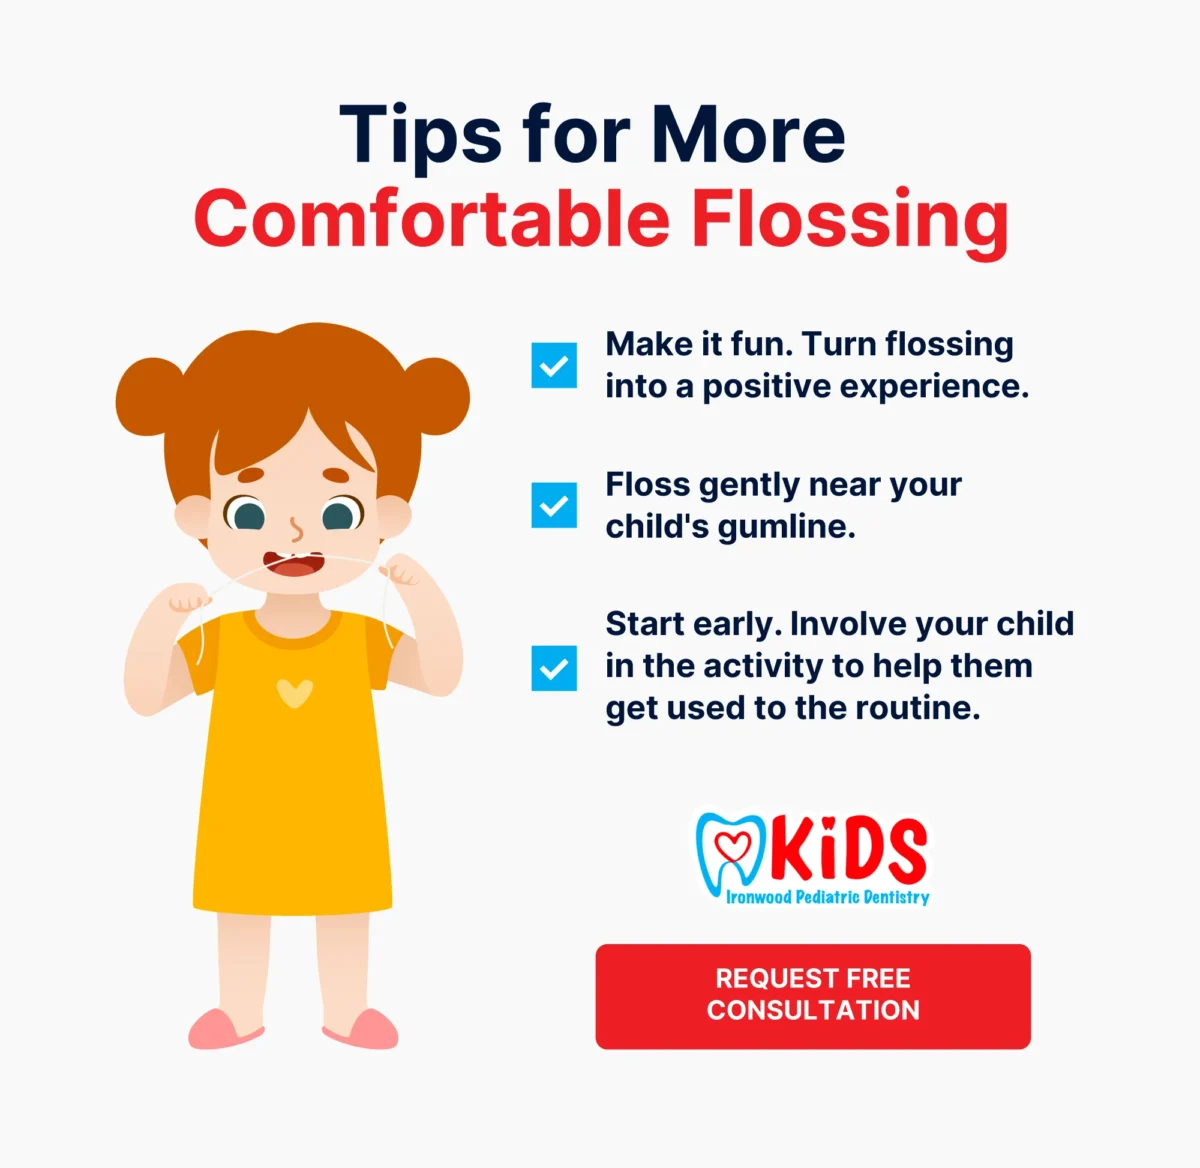
Tips for More Comfortable Flossing
- Be a role model. Children learn by watching what you do. You can help teach them to floss daily by letting them watch you flossing your own teeth before flossing theirs, so they can see that it is a normal activity and nothing to be afraid of. An older sibling can also perform this good habit role model activity.
- Be gentle when flossing your child’s teeth close to the gums. Gum tissue is sensitive and can be easily injured if you apply too much force or pressure. When you first start flossing, you may notice a small amount of gum bleeding. This does not necessarily mean that you are flossing too forcefully but is a completely normal reaction. As your child’s gums become more used to flossing, this minor bleeding should stop.
- Give your child some input on the activity. Children tend to respond more favorably when they feel that they have some control over things. Although you must do their flossing for them when they are small, letting them participate in choosing what kind of flossing tool to use (like regular floss or a floss pick) and in picking colors or flavors can encourage them to cooperate more easily.
Start gradually and work your way up. Flossing is a technique that can be tricky to master when you are flossing your own teeth, not to mention your child’s. While you are getting used to flossing your kids’ teeth, it can be easier to start with one tooth or two teeth at first while you and your child both get used to the activity. Then, as both of you become more comfortable and confident, add one or two more teeth with each flossing session until you can floss all the teeth in one session.
How to Floss with Braces
If your child is wearing braces, this can pose some special challenges. Here are some other tools and techniques to help a child with braces to floss.
Tools to Floss with Braces
Two flossing tools that can help to floss spaces that are hard to reach because of braces include floss threaders and orthodontic flossers.
How to Floss with Floss Threaders
A floss threader is a flexible plastic tool consisting of a handle with a large loop on the end. Your child uses it as follows:
- Thread the dental floss through the loop, and then position the handle end of the floss threader in the space between the braces bracket wire and the teeth.
- Pull the floss threader through that space until it completely passes through. This will position the dental floss between the arch wire and the teeth.
- Floss the teeth and gum line, pulling out the floss in the process.
- Repeat for the rest of the teeth until all have been flossed.
How to Floss with Orthodontic Flossers
An orthodontic flosser is a small, plastic tool that has two narrow arms with floss strung tightly between them to make flossing behind braces archwires easier. Your child uses an orthodontic flosser as follows:
- Use the flosser handle to position the floss to clean between teeth and into the gumline.
- Gently slide the floss in between the teeth, using a gentle rocking motion to penetrate the gum line at the base of each tooth.
- Do the same for all teeth.
Call Ironwood Dental to Help with Your Child’s Flossing Needs
Like regular brushing, flossing is an activity that you can help your children to do at first and then gradually teach them to do on their own to keep their teeth and gums healthy. But if you have questions about flossing that we have not answered here, we can help. Call us at (480) 422-4544, or reach us online, and we will respond to your inquiry.
When you make our Scottsdale pediatric dental practice an integral part of your kids’ oral health, we can help teach them good oral hygiene habits and step in with appropriate dental treatment, including a professional teeth cleaning, if brushing and flossing are not enough.